


 Please bare with me as I make some layout changes :)


Ok, it's still Monday... but it's almost Tuesday ;) I put together a tutorial for my popular gingerbread man ornaments.. they are quite easy and especially cute! Yay handmade for the holidays! Let me know if you try it :)
Step One

First, trace an oval shape onto a piece of corrugated cardboard. I used the shape tool in a graphics program to make one and printed it out to use as a template.
Step Two
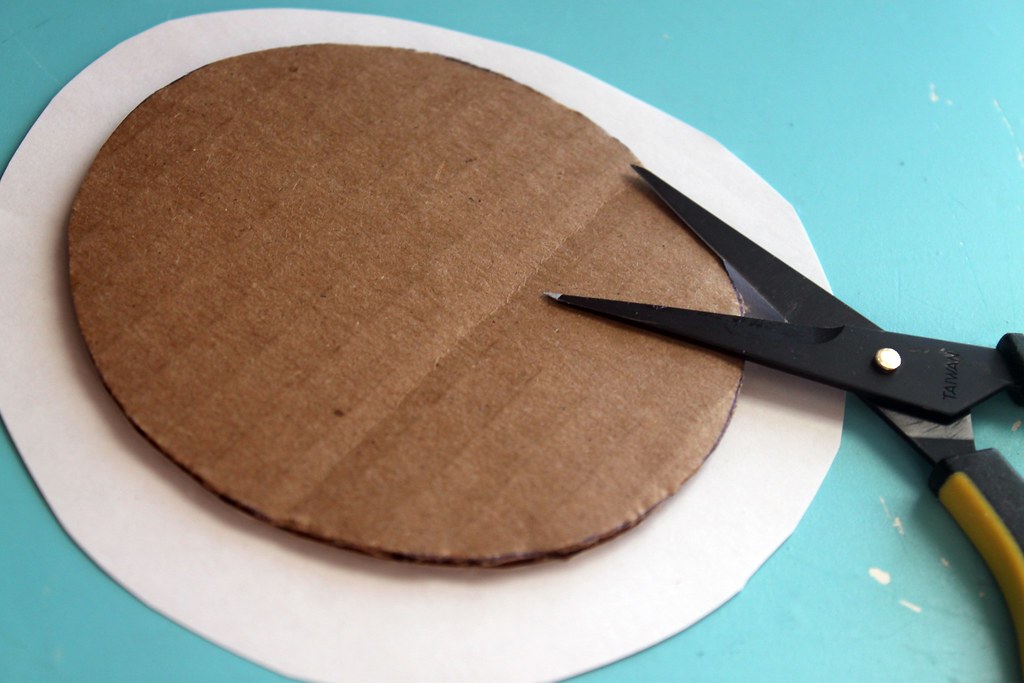
Glue your chosen paper to one side, and cut around the cardboard leaving .5" or so to fold over the edges.
Step Three
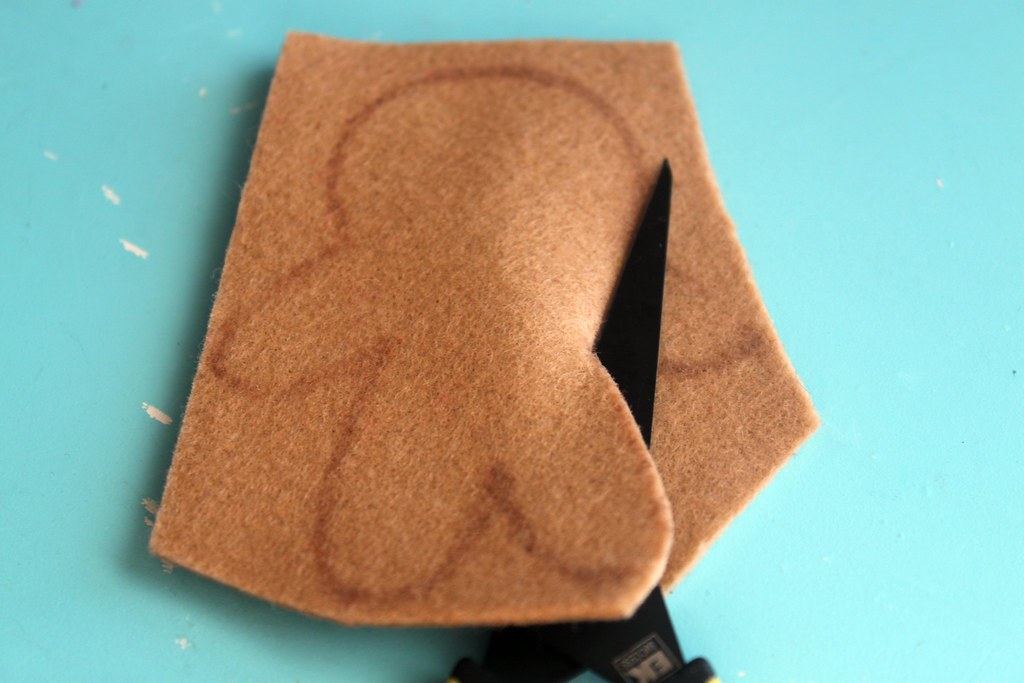
Draw a little gingerbread man on beige felt, and cut him out.
Step Four
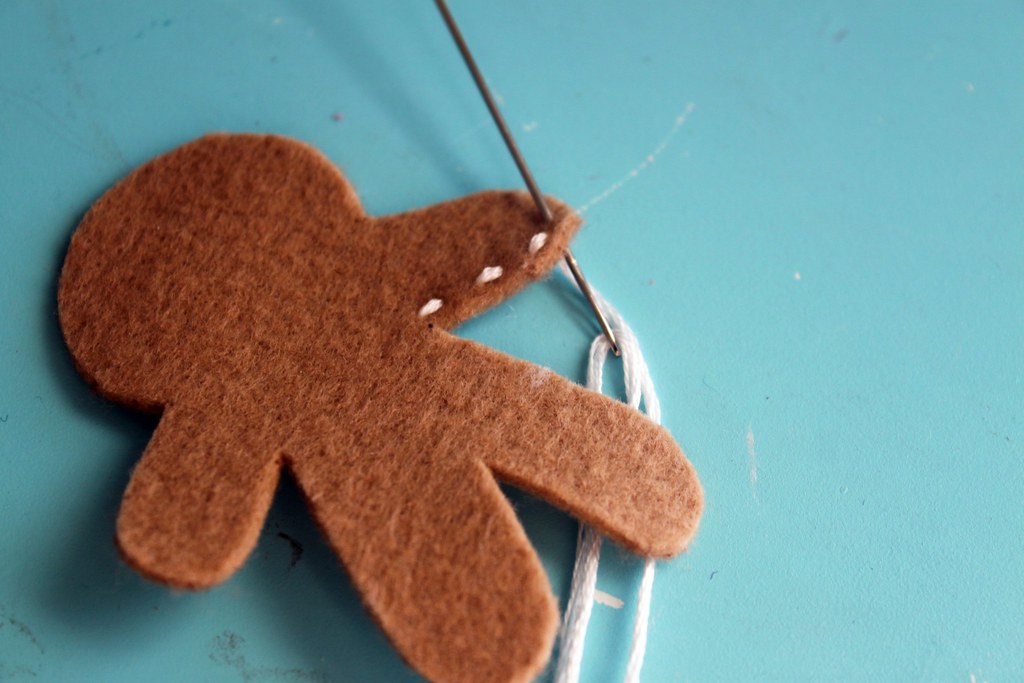
Using white thread, sew a simple stitch all the way around your gingerbread man.
Step Five
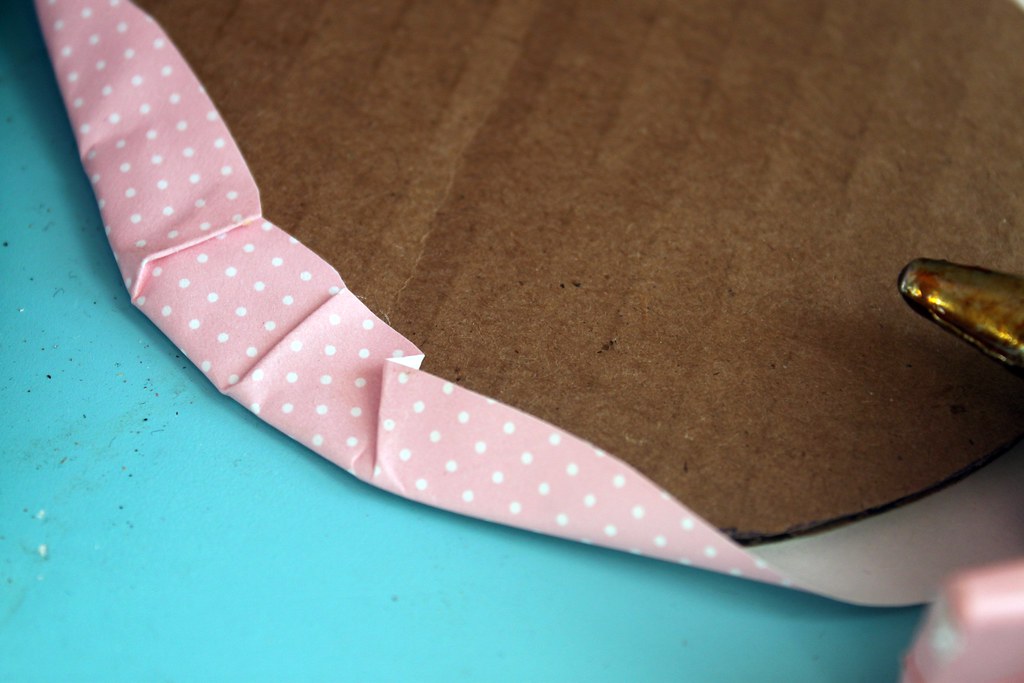
Using a hot glue gun, glue around the egdes of your cardboard and fold your paper over.
Step Six

Glue all the way around until you are done. Try to make sure that as you are folding you aren't getting pokey bumps - try to keep the most oval shape you can.
Step Seven

Place a thin glue line on the back of your felt gingerbread man.
Step Eight
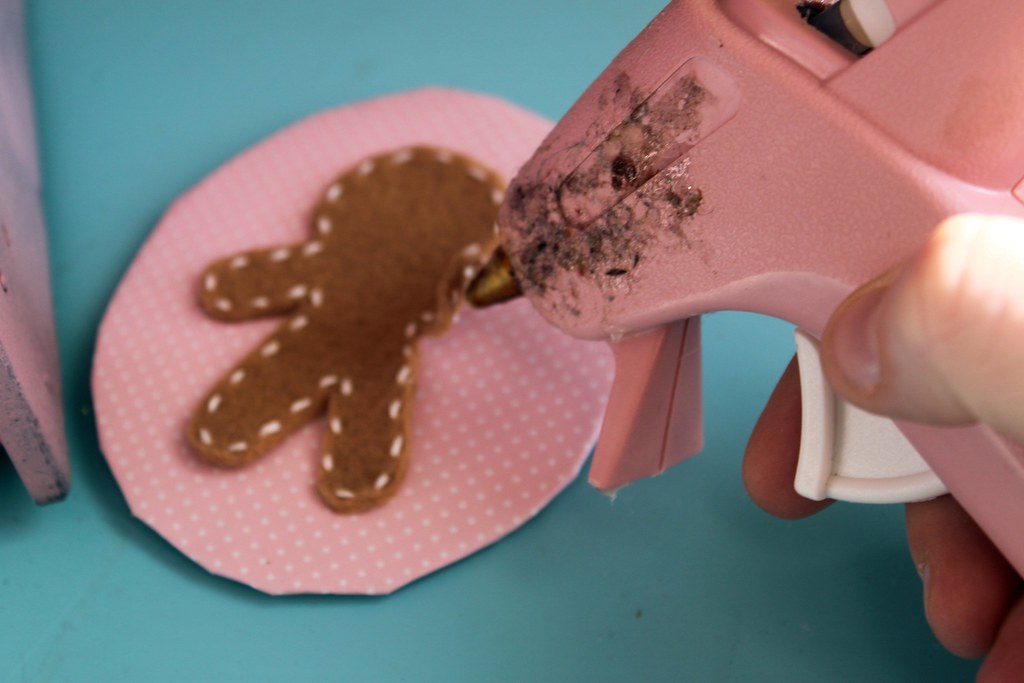
Place your gingerbread man in the center of your ornament, then glue down his legs and head. (my glue gun has a lot of ickies on it)
Step Nine

Glue a piece of ribbon to hang your ornament to the back.
Step Ten

Cut another oval, a bit smaller than your original, from another piece of paper. Glue it down to the back using the hot glue.
Step Eleven
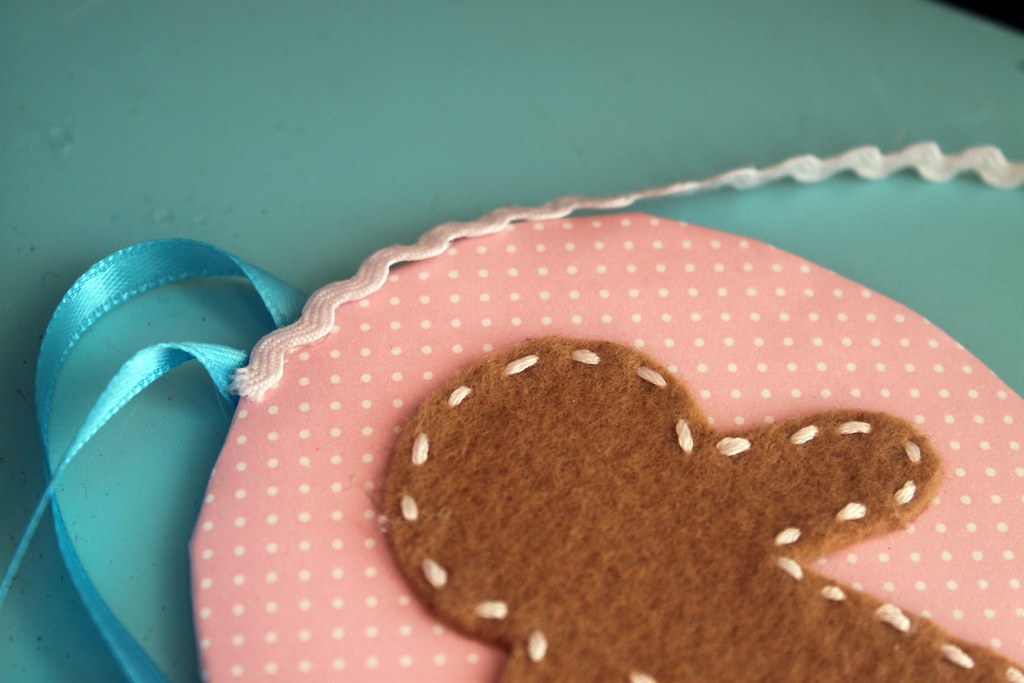
Glue white baby ric rac around the edge of your oval.
Step Twelve

Paint Teal buttons using acrylic paint.
Step Thirteen

Add pink acrylic paint cheeks, and a face using a brown marker. Use glitter glue over the paint on the buttons and the cheeks.
And you're done!

xoxo

16 comments:
Oh My Goodness! That is adorable! Thanks so much for sharing this ornament :)
Adorable! Great idea!
Adorable!
SUPER CUTE!!
Thanks so much for sharing! I love this! :-) I'm totally going to try it! :-)
very cute!!
thanks for sharing!
congrats on the baby news......very exciting!
SO CUTE!! Thanks for the info!
great toot, lady! i spy a little polly bird:)
hugs
lori
CUTE! I love it. =D
CUTE!
that's really cute! i may try this
http://hell0z0mbie.blogspot.com/2009/12/paper-cake-finds.html
I just wanted to say I love your blog and posted about it on mine!
Cute, cute, cute!!
Great idea, thanks!
Oh heavens!!! This is too cute!
When I began at photo one, I could just tell this was going to lead to your photo! What a cute craft! The happiest of holidays to you and your family! Elizabeth
So adorable! I would never guess from looking at the finished product how simple the steps are to make it, nor how humble to materials. Really great!
xox,
Susan @ Dreams Underfoot
confessionsofasineater.blogspot.com
Post a Comment